
Orbits
Procedural Modelling / Look Development


TECHNICAL BREAKDOWN
Part 01: Modify the torus
Create the base shape of orbit by default torus.
Part 02: Generate Connection Lines
Code: mesh_utils.py: random_connect()
Then we could run the code. It would randomly generated curves between vertexes. In order to make it like a ring orbit. We could control the range and distribution area by curvenum and curve_lenght_max.
Part 03: Generate Icosahedron along the locators
Code: mesh_utils.py: cover_mesh()
By the locators we got in the last step, we could generated Icosahedron with random scale and rotation on those connected points.
Part 04: Generate glowing Icosahedron around the orbit

Next, in order to have some beautiful glowing dots around the orbit. We could repeat the step 2-3 again with a smaller sample. And we could set the diffuse color value over 1 (3 here) to create the glowing effect. It creates better effect than the glow attribute because it would have the darken edges on the meshes.
Part 05: Duplicate and modify
Then make a duplication of the whole orbit to create repeatability. Also, because the objects are separated with random rotation, I’m able to select all the glowing particles and push to spread them out more.
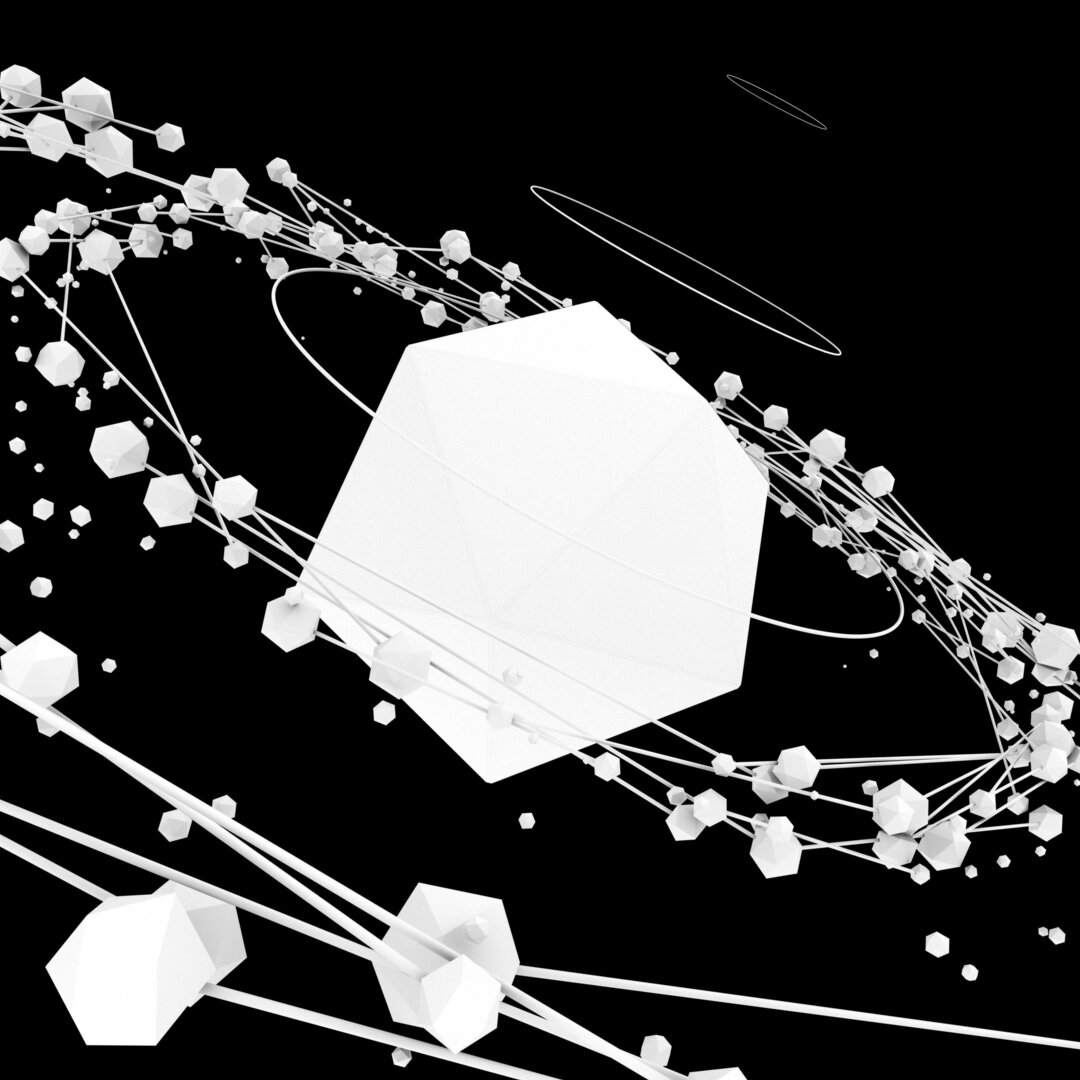
Part 06: Modify the main Icosahedron
In order to push the contrast, I use Substance Painter to create the shabby steel painted texture, and place the Icosahedron at the middle as my main actor. Besides, I add some circle halos to enhance the composition.
Part 07: Lighting
This time I want to put the object in a reality space. I think the conflict between abstract objects and real world would generate a very interesting feeling. So I borrow an HDRI from HDRI heaven and set it as my skydome light.
In the end, I touch the DOF of my camera to emphasize the sense of space.
Now it’s all set. Go rendering!
INSPIRATION & REFERENCE


